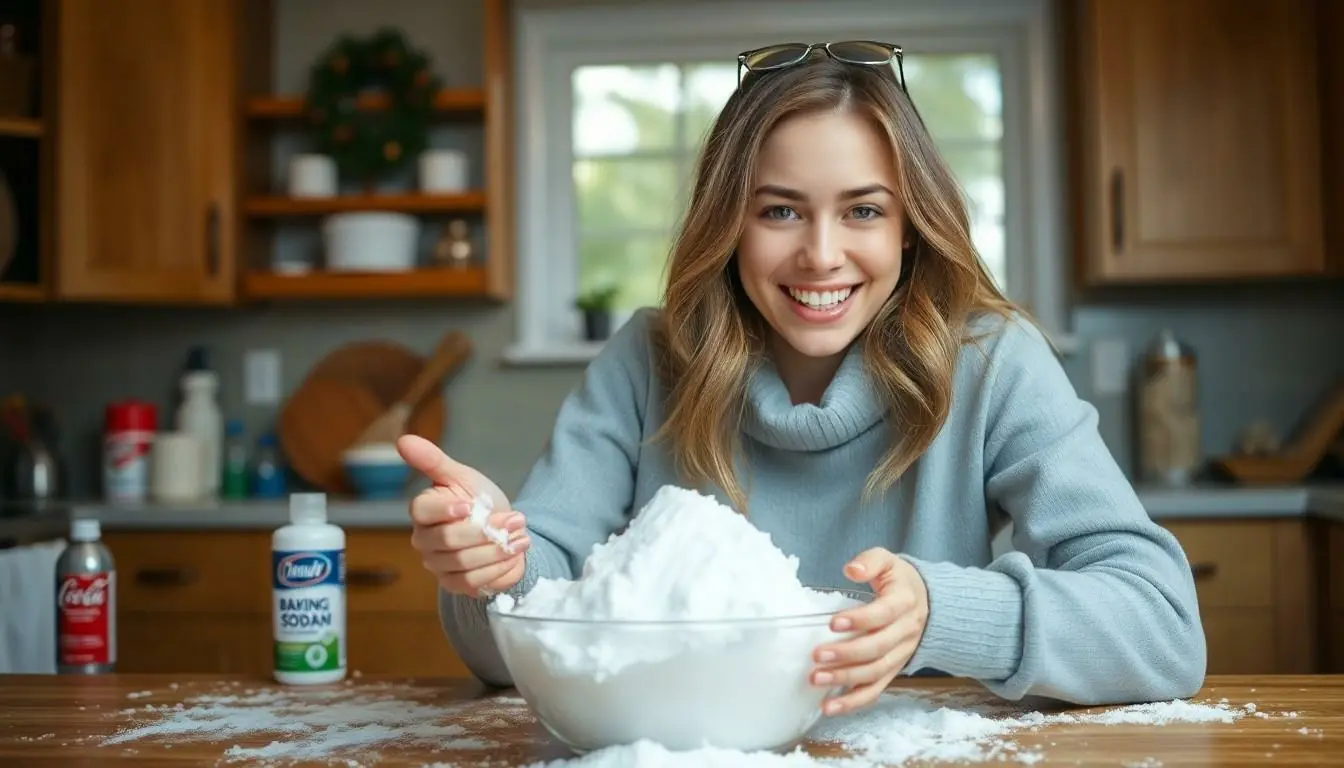
When winter rolls around and the snowflakes start to dance, not everyone gets to enjoy a winter wonderland. But what if he could bring the magic of snow right into his living room? Making snow at home isn’t just for the crafty or the overly ambitious; it’s for anyone who wants to unleash their inner child and create some frosty fun.
Table of Contents
ToggleUnderstanding Snow Making
Creating snow at home involves fascinating principles that blend chemistry and physics. It provides an opportunity for anyone to experience the joy of winter indoors.
The Science Behind Snow
Snow forms when water vapor freezes into ice crystals in the atmosphere. This process occurs when temperatures drop below freezing. Creating artificial snow at home mimics this phenomenon. Using techniques such as combining water and a freezing agent enables the formation of snow-like structures. Specific chemical reactions can also produce a snow effect, enhancing the experience. Crafting homemade snow allows individuals to explore these scientific principles while enjoying a winter wonderland.
Types of Snow You Can Make at Home
Various types of snow can be created using simple ingredients and techniques. One common method involves shaving ice, which produces a fluffy texture resembling real snow. Additionally, using baking soda and water creates a soft, moldable snow perfect for crafting. Another option consists of combining cornstarch with conditioner, resulting in a squishy, snow-like substance. Each method allows for different textures and applications, making it possible for everyone to experiment and find their favorite type of homemade snow.
Materials You’ll Need
Creating snow at home requires specific materials to achieve desired results. The following sections outline essential items and optional enhancements for an engaging experience.
Common Household Items
Baking soda works as a primary ingredient for soft snow. Water combines with baking soda to create a fluffy texture. Shaving cream offers an alternative, providing a fluffy and moldable snow consistency. In addition, corn starch contributes to a squishy feel when mixed with hair conditioner. These materials are commonly found at home and easy to gather, ensuring a straightforward process.
Optional Enhancements
Food coloring allows for vibrant, colored snow creations. Adding it to the mixture creates visually appealing effects. Glitter can enhance the snow’s aesthetics, adding sparkle and making it look magical. Scented oils provide a festive aroma, enhancing the sensory experience. Lastly, foam beads introduce a unique texture, providing a different tactile experience. These enhancements add an extra layer of creativity to homemade snow.
Step-by-Step Guide to Make Snow at Home
Creating snow at home is an exciting activity. The following methods allow for simple and enjoyable experiences.
Using Baking Soda and Shaving Cream
This method produces a fluffy, moldable snow. Start with 2 cups of baking soda in a large bowl. Gradually add 1 cup of shaving cream while mixing with hands or a spatula. The texture becomes soft and light as you combine the ingredients. Adjust the consistency by adding more shaving cream for fluffier snow or more baking soda for a denser result. Once mixed, the snow can easily be shaped into snowballs or used for sensory play.
Using Cornstarch and Conditioner
This approach creates a squishy, snow-like texture. Combine 2 cups of cornstarch with 1 cup of hair conditioner in a mixing bowl. As they blend, the mixture resembles packed snow. Kneading the ingredients helps achieve a softer consistency. Adding food coloring can enhance the visual appeal of the snow. This variant is excellent for creative activities, such as crafting snowmen or winter scenes while offering a fun, tactile experience.
Tips for Best Results
Creating snow at home can yield impressive results with the right techniques. Following specific tips ensures an optimal experience.
Temperature Considerations
Temperature plays a crucial role in snow-making success. Colder environments enhance the effectiveness of freezing agents. For best results, place ingredients in a refrigerator or freezer before using them. Using room temperature items could lead to less fluffy snow. Chilling equipment creates a better atmosphere for the end product. Regularly monitor ambient temperature if working outdoors. Note that colder conditions yield snow that resembles real flakes.
Storage and Usage
Storage options impact the usability of homemade snow. Sealing snow in airtight containers prevents moisture from ruining texture. Refrigerating the snow helps maintain its shape and consistency. Consider using it within a week for the best experience. Utilize handmade snow for sensory play or festive decorations. Adding scents may create a pleasant aroma during usage. To sustain texture, avoid exposing it to warm air. Proper storage allows for multiple sessions of snowy fun.
Conclusion
Creating snow at home is a delightful way to embrace the magic of winter regardless of the season. With simple ingredients and a bit of creativity anyone can craft their own unique snow experience. The various methods outlined allow for endless experimentation and fun.
Whether it’s fluffy snow made from baking soda and shaving cream or squishy textures from cornstarch and conditioner there’s something for everyone. Enhancing the experience with colors scents and textures adds a personal touch that makes the activity even more enjoyable.
So gather the materials and let the fun begin. Making snow at home is not just an activity but a chance to relive childhood memories and create new ones.


