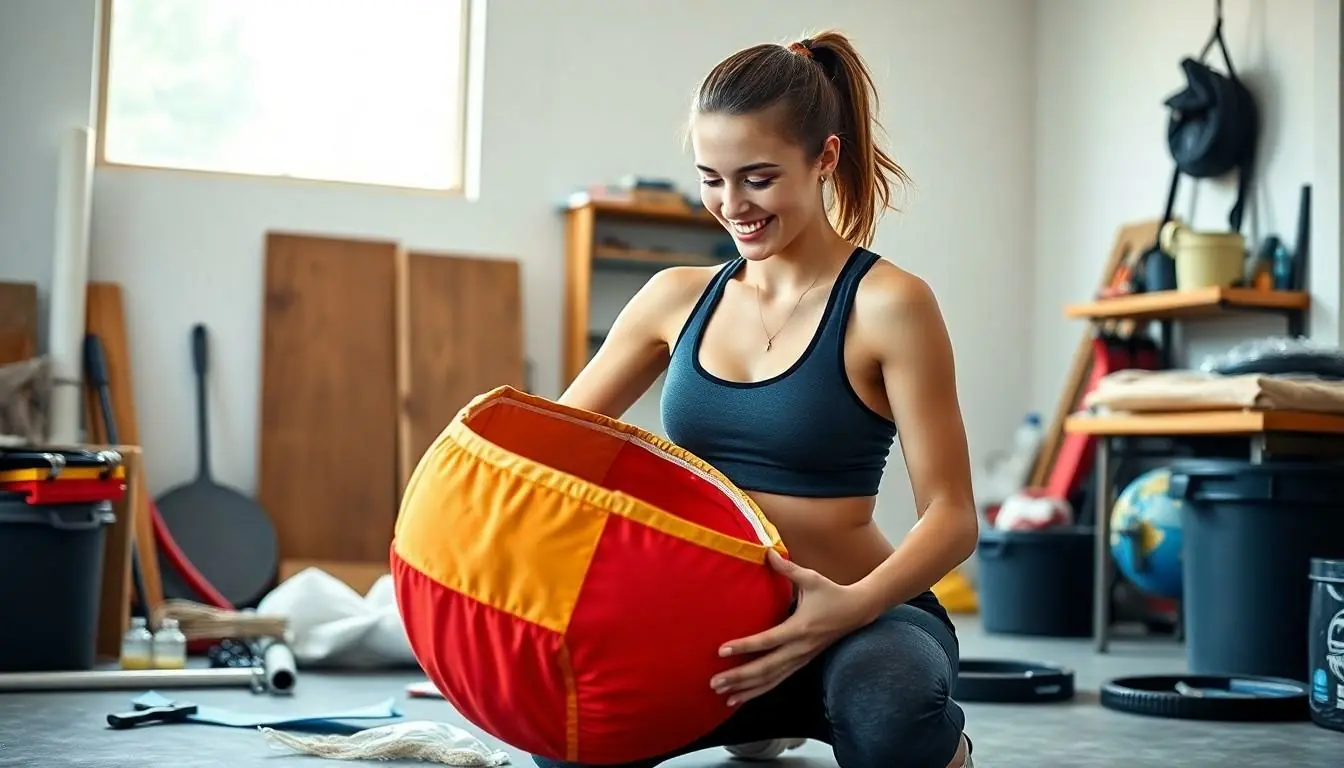
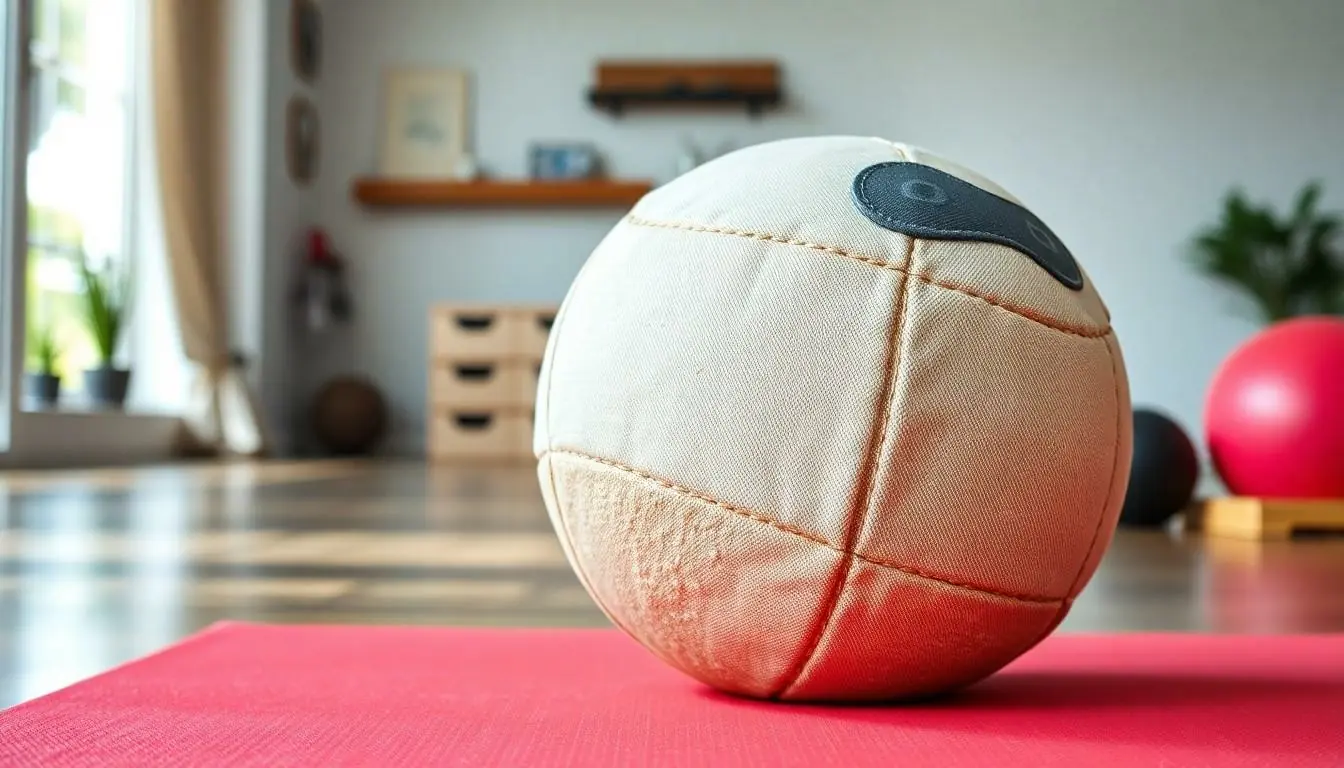
Looking to add some punch to your workout routine without breaking the bank? Making a medicine ball at home might just be the DIY project you never knew you needed. Forget overpriced gym equipment that collects dust; with a few simple materials, you can create a versatile tool that’ll have you tossing, slamming, and squatting your way to fitness glory.
Table of Contents
ToggleUnderstanding Medicine Balls
Creating a homemade medicine ball offers a versatile tool for enhancing fitness routines. This section explores its benefits and the types available.
Benefits of Using Medicine Balls
Medicine balls provide numerous advantages for workouts. They improve strength and coordination through resistance training. Engaging in dynamic movements like throwing and slamming enhances cardiovascular fitness. Furthermore, medicine balls promote core stability, which is essential for overall functional strength. Incorporating these exercises into a routine can boost muscular endurance and flexibility too. Individuals appreciate that the variety of exercises contributes to reducing workout monotony.
Different Types of Medicine Balls
Various medicine balls exist, each serving specific fitness needs. Standard medicine balls, often weighted between 4 to 30 pounds, suit general strength training. Slam balls, designed for high-impact exercises, absorb shock and resist rolling. Wall balls combine strength and endurance, ideal for throwing against a wall. Soft-shell medicine balls allow for safe handling, particularly during partner workouts. Finally, customized options enable individuals to modify weights and sizes to match personal goals. Each type contributes uniquely to enhancing workout efficiency and effectiveness.
Materials Needed
Creating a homemade medicine ball requires specific materials to ensure durability and functionality during workouts. The right selection enhances effectiveness, meets personal fitness goals, and provides a customized experience.
Choosing the Right Weight
Weight selection plays a crucial role in the effectiveness of a medicine ball. An ideal choice ranges from 4 to 12 pounds for most individuals. Beginners may benefit from starting lighter, around 4 to 6 pounds, to master techniques. Intermediate users can opt for 8 to 10 pounds to increase challenge and intensity. Experienced users can select weights above 12 pounds, tailored to their strength levels and fitness objectives.
Recommended Materials for the Shell
Use sturdy materials for the ball’s shell to withstand wear and tear. PVC material or canvas fabric is commonly recommended due to its durability and flexibility. Canvas offers an added benefit of texture, enhancing grip during workouts. Additionally, consider waterproof options to prevent moisture damage if used outdoors. Reinforced seams also contribute to the shell’s longevity, ensuring safety and effectiveness in exercises.
Filling Options
Filling options vary and significantly affect the ball’s performance. Options include sand, rice, or a mixture of both for desired weight. Sand provides density, creating a firmer feel while rice offers a lighter, softer touch. A combination can balance weight and texture. Weighing the filling accurately ensures the correct total weight in the finished product. Make sure to securely close the opening after filling to maintain integrity during use.
Step-by-Step Guide
Creating a medicine ball at home involves a few straightforward steps that yield a functional piece of exercise equipment. Each stage requires attention to detail for an effective result.
Preparing the Shell
Select a robust material for the shell, such as PVC or canvas. Cut the chosen material into two equal circles, each with a diameter of about 12 inches. Ensure the edges are smooth to avoid injury during use. Once the circles are prepared, use a sewing machine or heavy-duty adhesive to stitch or glue them together, leaving a small opening for filling. This opening is necessary for maintaining the ball’s structural integrity while allowing for adjustments in weight later.
Filling the Medicine Ball
Choose a filling material, like sand or rice, which impacts the ball’s weight and performance. For a customized weight, measure the filling accurately to reach a total of 4 to 12 pounds, depending on the user’s fitness level. Pour the chosen filling into the shell through the opening, using a funnel if needed for precision. It’s important to fill it adequately but not excessively to allow for flexibility during exercise.
Sealing and Finishing Touches
Once filled, securely seal the opening of the medicine ball. Use strong adhesive or sew the opening shut, ensuring no filling can escape. Smooth out any irregularities on the surface for comfort during workouts. Consider adding a layer of padding or grip-enhancing material, especially for exercises requiring a strong grasp. These finishing touches enhance both functionality and safety, leading to a better overall workout experience.
Tips for Using Your Homemade Medicine Ball
Using a homemade medicine ball offers various advantages. Prioritizing safety and creativity enhances the workout experience.
Safety Precautions
Ensure the medicine ball is securely sealed before use. Check for any weak points or potential leaks in the shell, as compromised integrity can lead to accidents. Using appropriate weight is crucial. Selecting a weight between 4 to 12 pounds allows for effective training without risking injury. Avoid using materials that may cause injury if the ball accidentally bursts. Test the ball on soft surfaces during the initial tries to minimize impact. Wearing gloves can enhance grip and protect hands during intense exercises. Lastly, always supervise younger users when using homemade equipment.
Exercise Ideas
Incorporating various exercises keeps workouts engaging and effective. Squats with a medicine ball promote lower body strength and core stability. Tossing the ball against a wall adds a dynamic element that boosts coordination and explosive strength. Incorporate slams for a full-body workout that targets multiple muscle groups. Lunges while holding the ball improve balance and muscular endurance. Rotate the body while performing Russian twists to enhance core strength and rotational power. Adding these exercises to a routine expands functional fitness and maintains motivation.
Conclusion
Creating a homemade medicine ball is a fantastic way to elevate workout routines without breaking the bank. By following simple steps and using readily available materials, anyone can craft a durable and effective tool for strength training and core stability.
Incorporating this DIY project not only enhances fitness but also adds variety to exercises. With the right weight and filling, users can tailor their medicine ball to meet personal goals.
Emphasizing safety and functionality ensures a rewarding experience. With a homemade medicine ball, individuals can enjoy dynamic workouts that build strength and improve coordination while keeping motivation high.


